Having spent a major part of my fellowship in Maheshwar, Madhya Pradesh, it was impossible to not showcase the art-form that makes the place so special – Maheshwari sarees. The sarees and fabrics are registered for Geographical Indication, a certification that the product possesses certain qualities, is made according to traditional methods, or enjoys a good reputation due to its geographical origin.
The origin of Maheshwari sarees can be traced back to the 18th century when Maharani Ahilyabai Holkar invited weavers from Hyderabad, Gujarat and other parts of Madhya Pradesh to introduce the skill of weaving in Maheshwar. The fabric thus produced was primarily used as a welcome gift for royal dignitaries visiting the Maharani.
In this blog post, I’ll explain the process of making a Maheshwari saree. It includes weaving strands of cotton and silk into a continuous fabric, which can be broken into multiple steps, as follows:
1. Warping
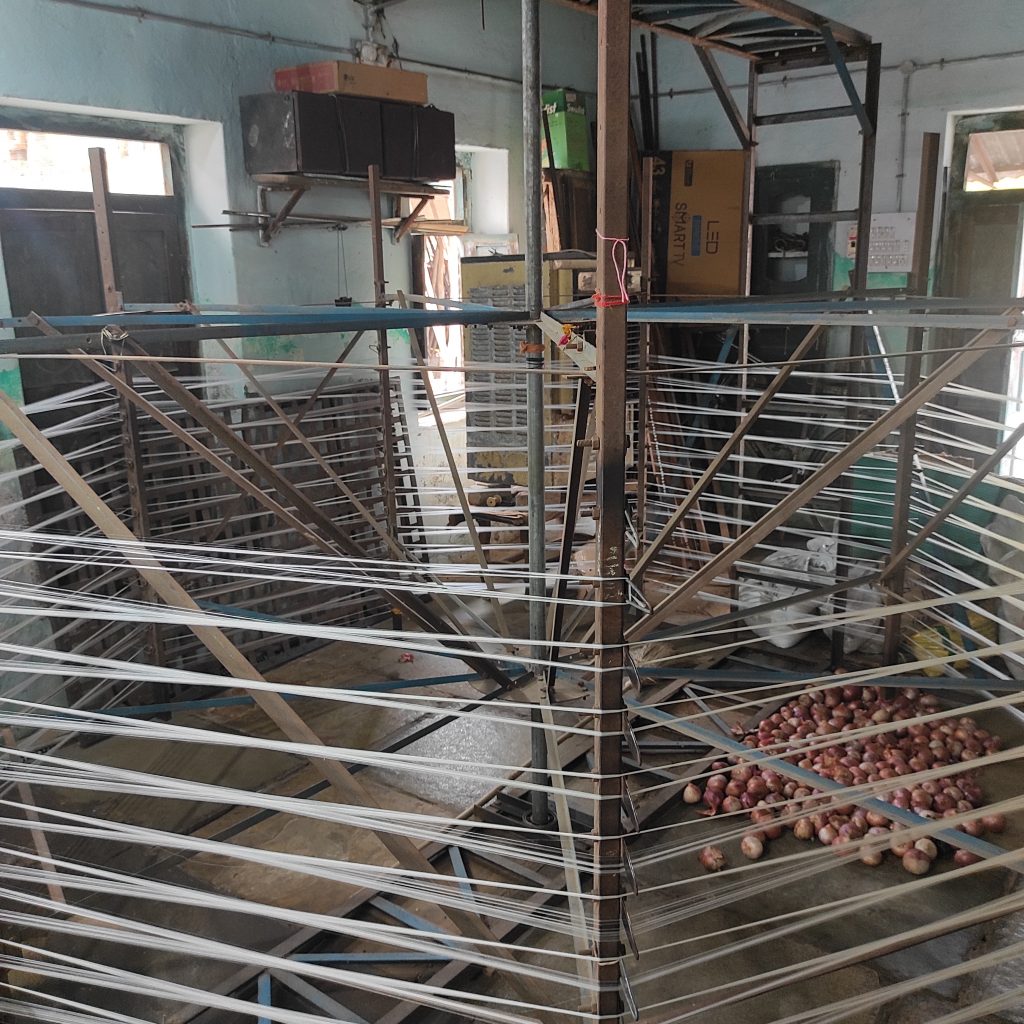
The raw material which is mainly cotton and silk, is imported from China and arrives in bundles as shown in the picture below. The construction of cotton used in Maheshwari sarees is 2/120 which means that two strands of 60s thread count each are twisted together to form one strand. To weave cotton strands into a continuous fabric, it is important to understand the concept of warp and weft.
Warp threads run vertically. Weft yarns run horizontally. A fabric will often use different types of threads in the warp and weft directions. After the cotton or silk threads arrive, they are sent for the process of warping, wherein the separate strands are bundled together.


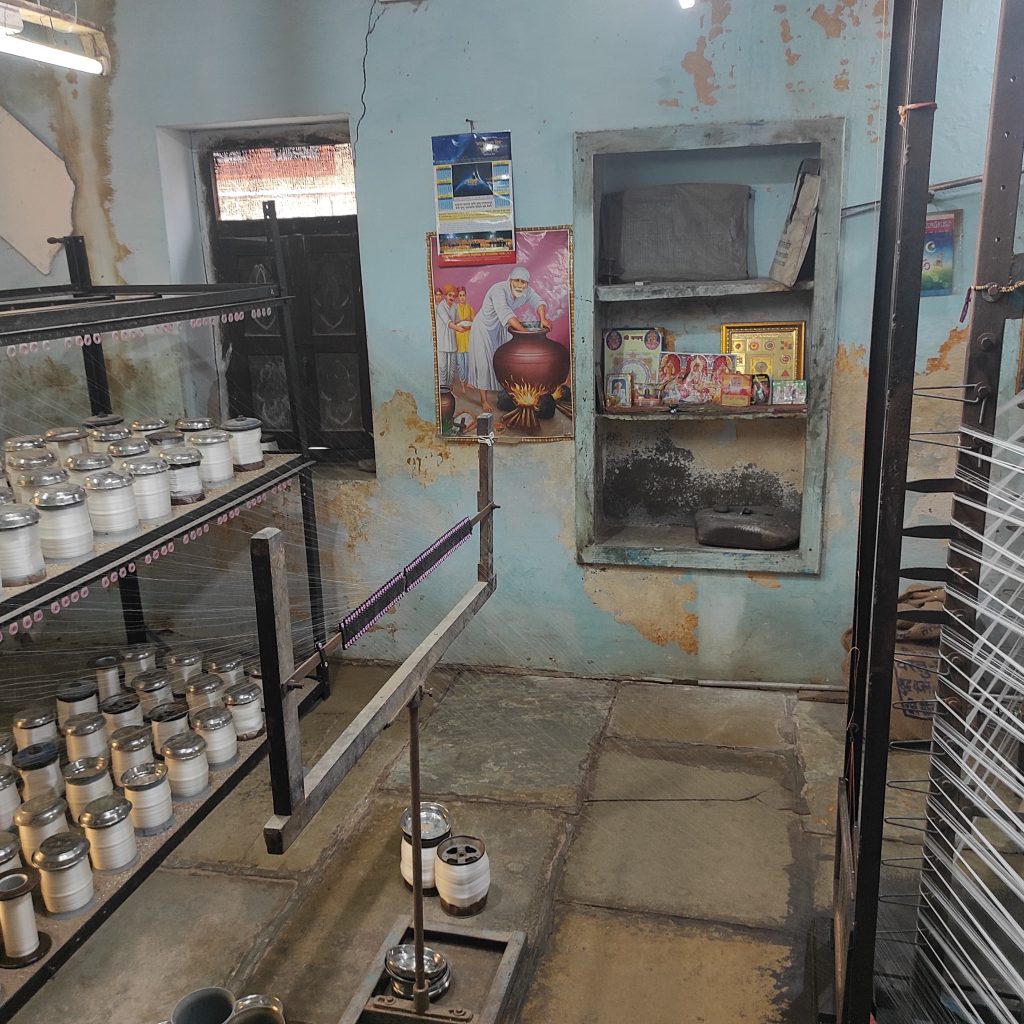
The cotton that arrives in bundles is spun in spools so that that individual strands can be counted together to form a hank that is needed to start weaving a set of 8 or 16 sarees.
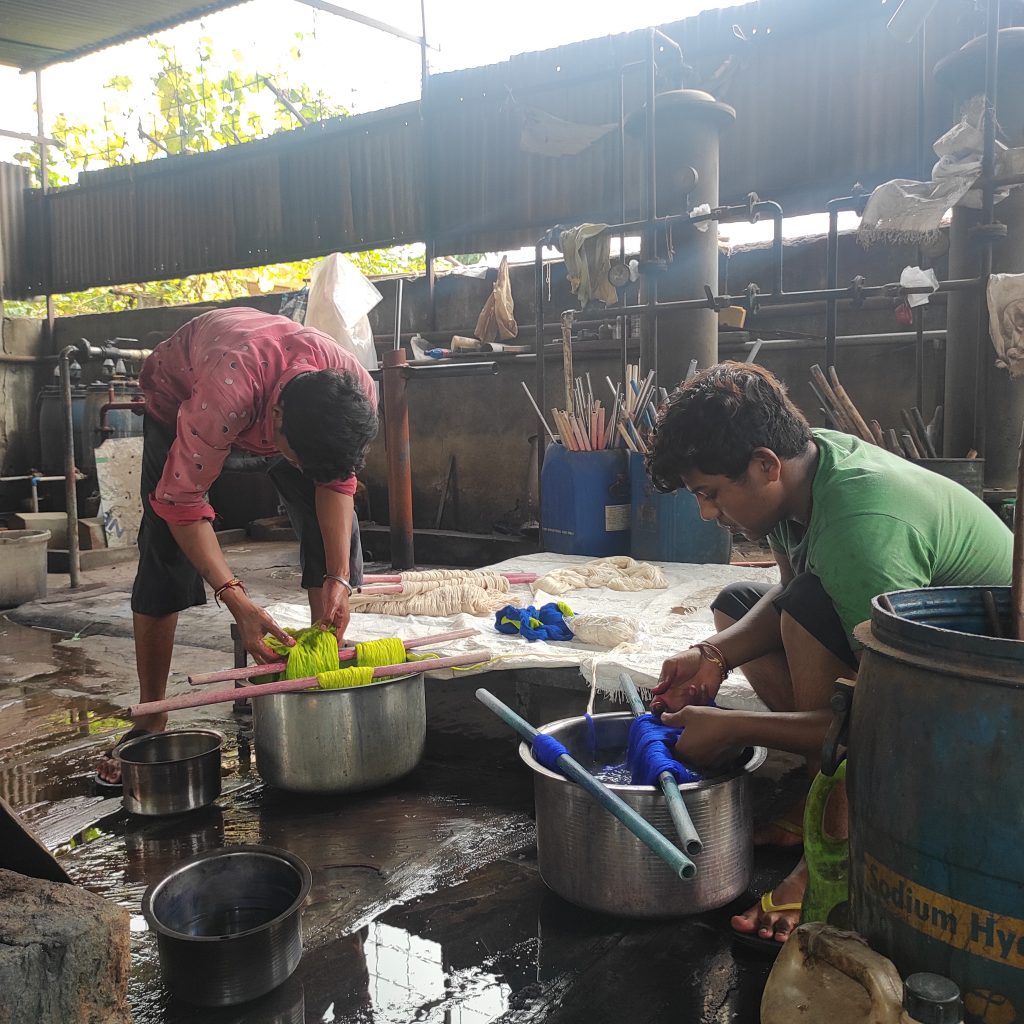
2. Dyeing
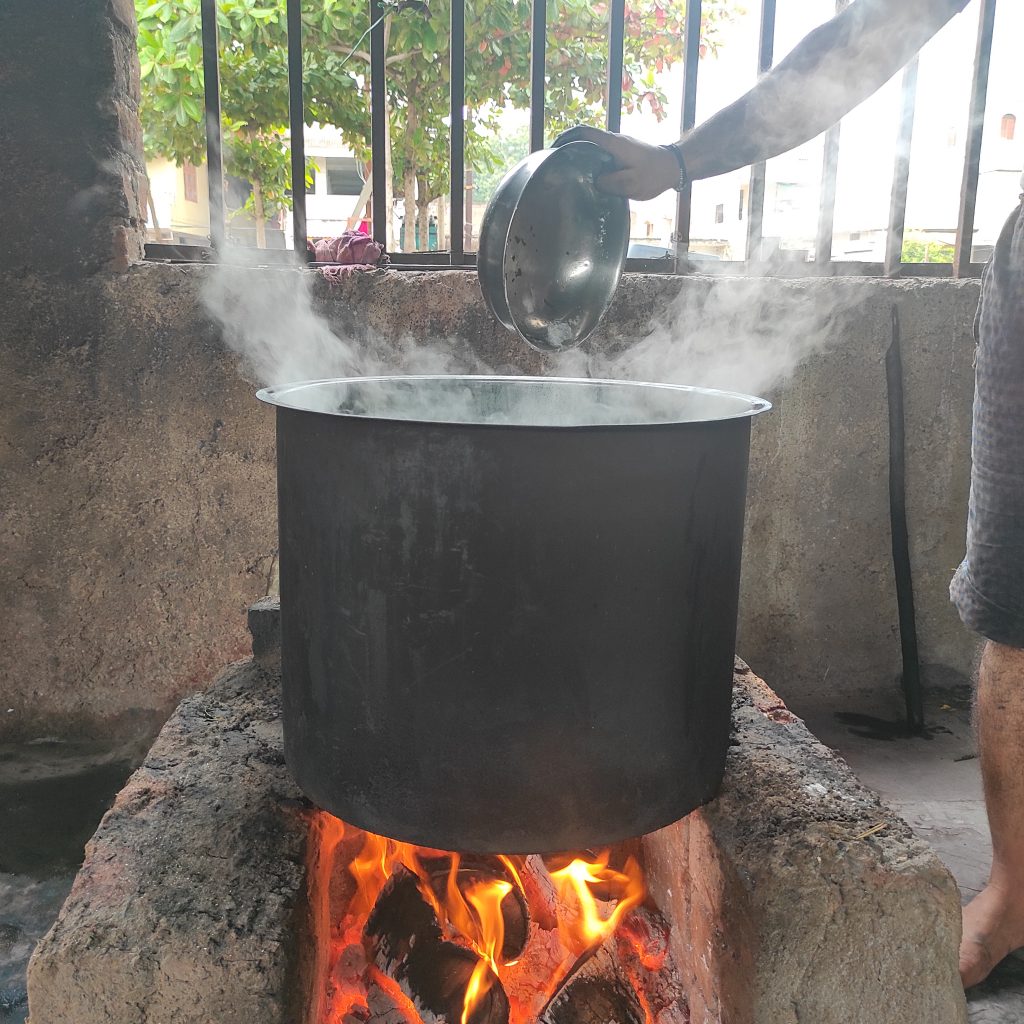
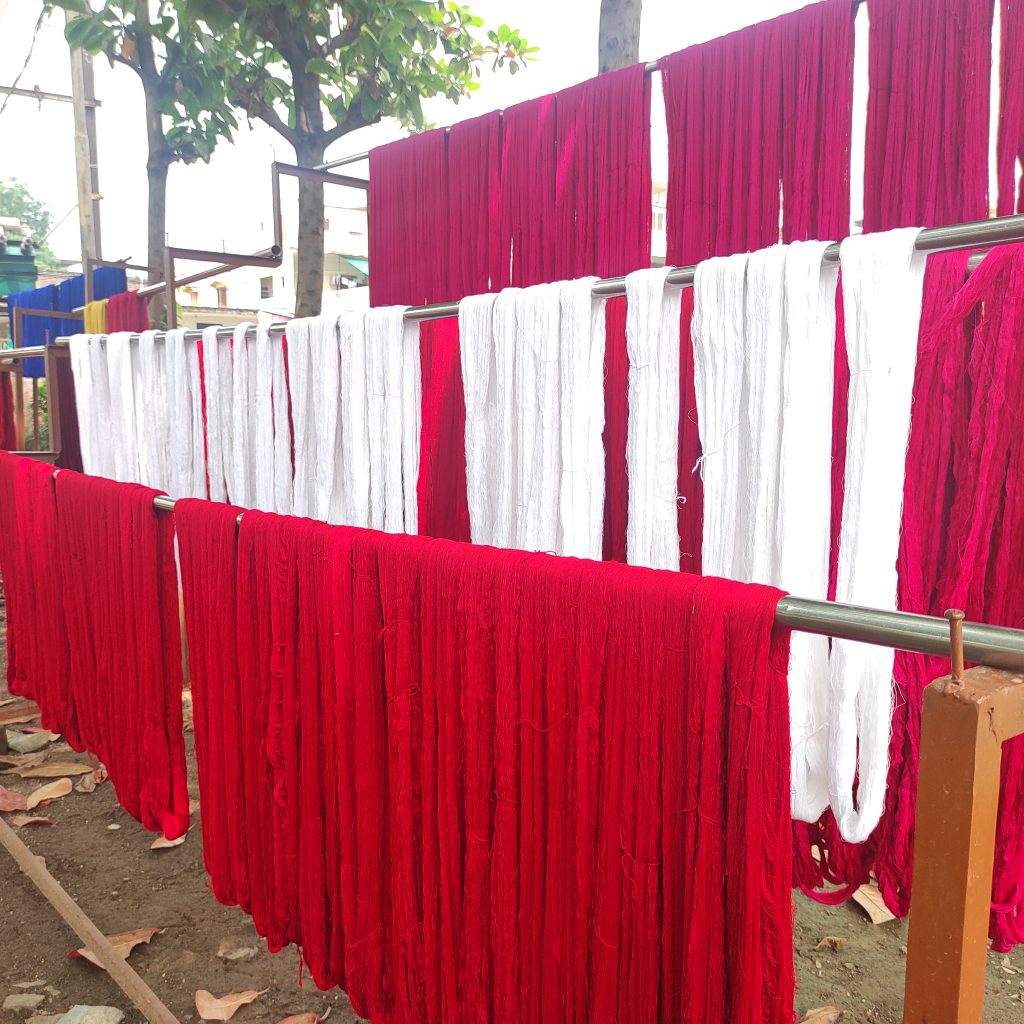
Once the warping process is over, the hanks of thread are ready for dyeing. By and large, chemical dyes are used in this process as the vibrant colours that Maheshwari sarees are known for, cannot be produced by natural dyes.
It starts with the preparation of the colour, as shown below. The chemicals are added to water in the exact amount needed to produce a certain colour and are boiled till the desired shade is achieved. The process shown in the pictures pertains to cotton strands. For silk, the dyeing process differs a bit with the cold, instead of hot water being poured on the hanks.
Also read: Maheshwar: A Veiled Jewel Of Royalty

3. Preparing the loom
Once the strands are ready to be woven into a continuous fabric, we move to the process of preparing the handloom and spooling threads on bobbins. To understand the basics of weaving, it is important to understand two constituent terms – warp and weft, as mentioned earlier. Warp are the vertical lines that are held together by a single shaft and weft are the horizontal lines that are formed by an oscillating shuttle. The loom is prepared by loading the warp threads which are stationary and the weft threads are spooled on the bobbin or the katla.


On the left, the weft thread is being spooled onto the bobbin which would then be installed in the shuttle. A charkha or a spinning wheel is typically used for this process. Spooling weft threads onto the bobbin. This process is also known as kandi bharna, an occupation on its own, done mostly by women.
On the right, the bobbin is then being inserted into the shuttle which would oscillate horizontally and weave the strands around the warp threads. Multiple bobbins have to be prepared for one saree and are replaced into the shuttle as they get over.
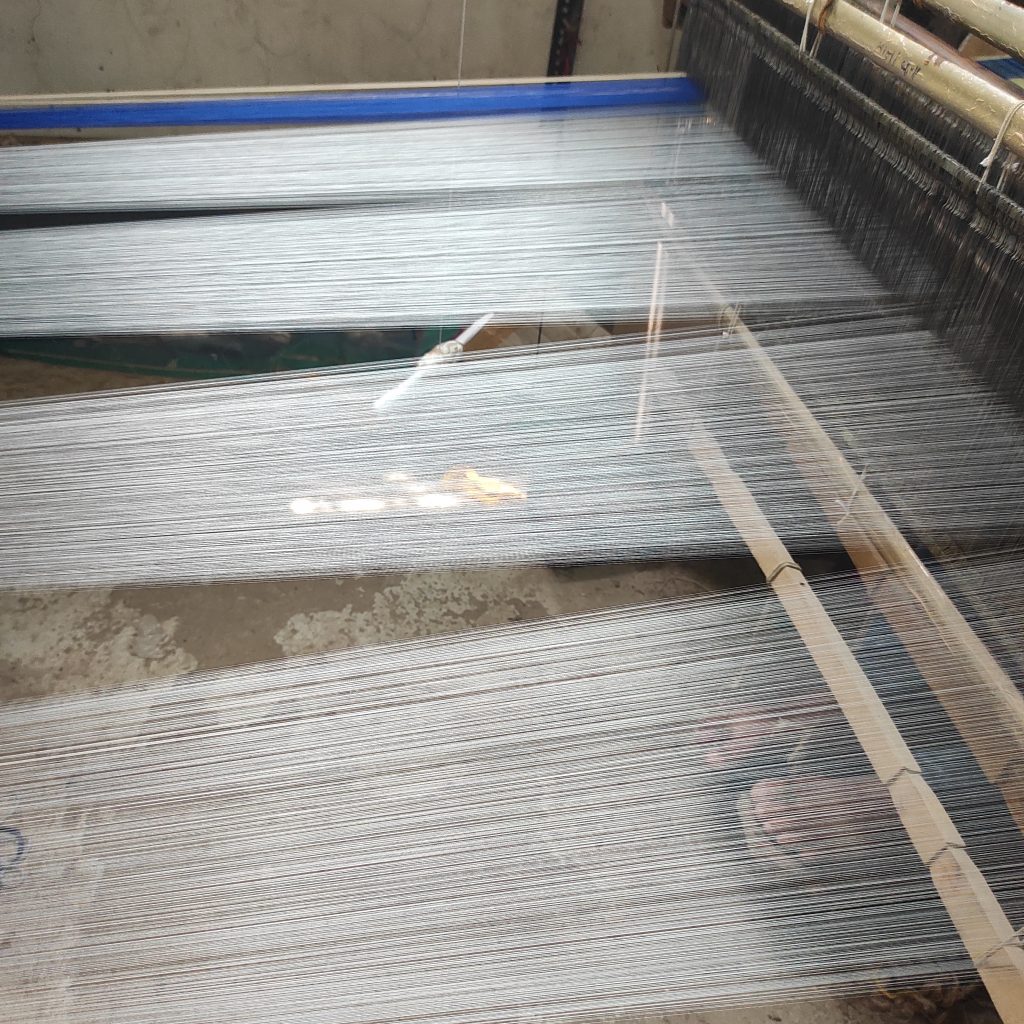
Preparing the loom is a task that requires multiple people, who each specialize in just that one aspect of the process. The first step of setting up the loom is to the load the warp threads onto the loom. The warping process can be different based on whether the previous saree is being continued or the loom is being loaded for a new batch of sarees.
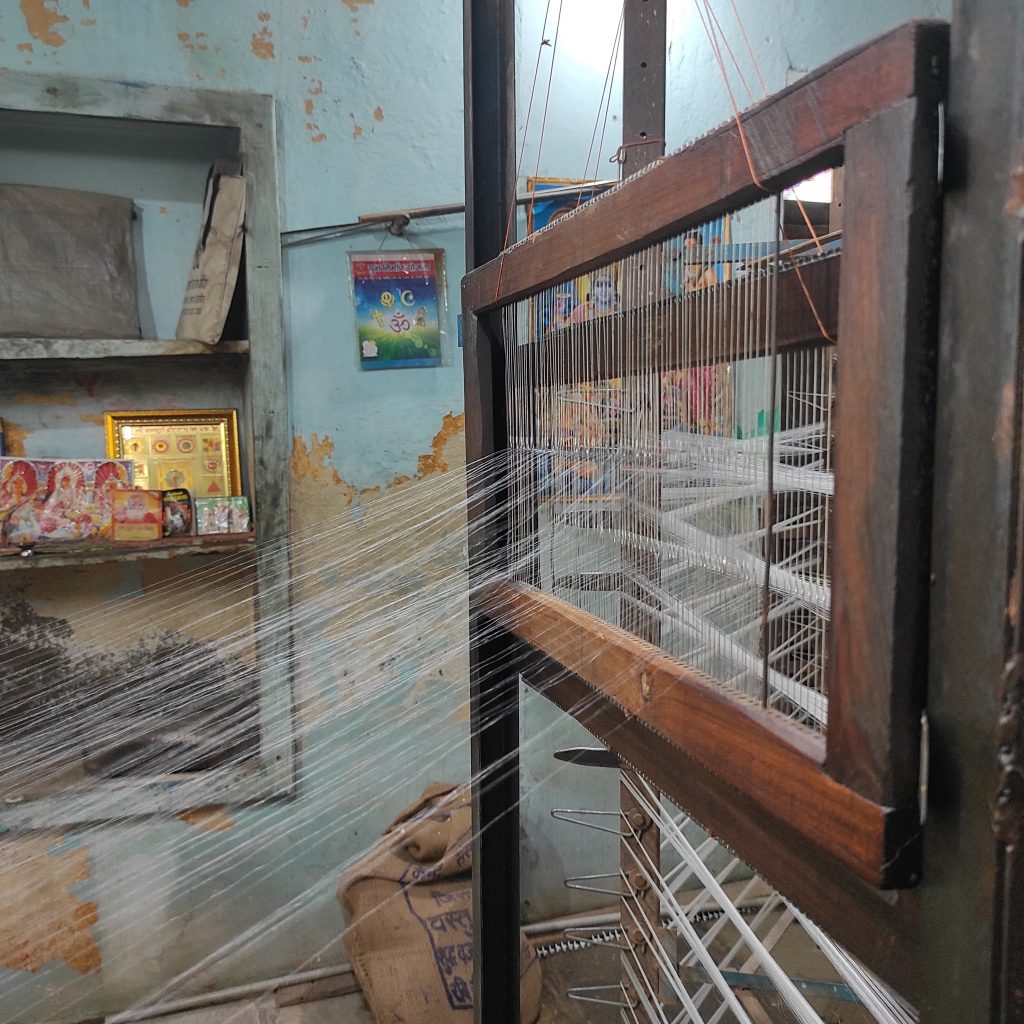
In case the previous saree is being continued, a process called jodni is done for loading the new warp threads onto the loom. This intricate process involves tying each old strand with a new one by hand, one at a time. The image below is a close shot of the stretched out warp threads that are each tied to a new set of threads when preparing the loom for the next saree.
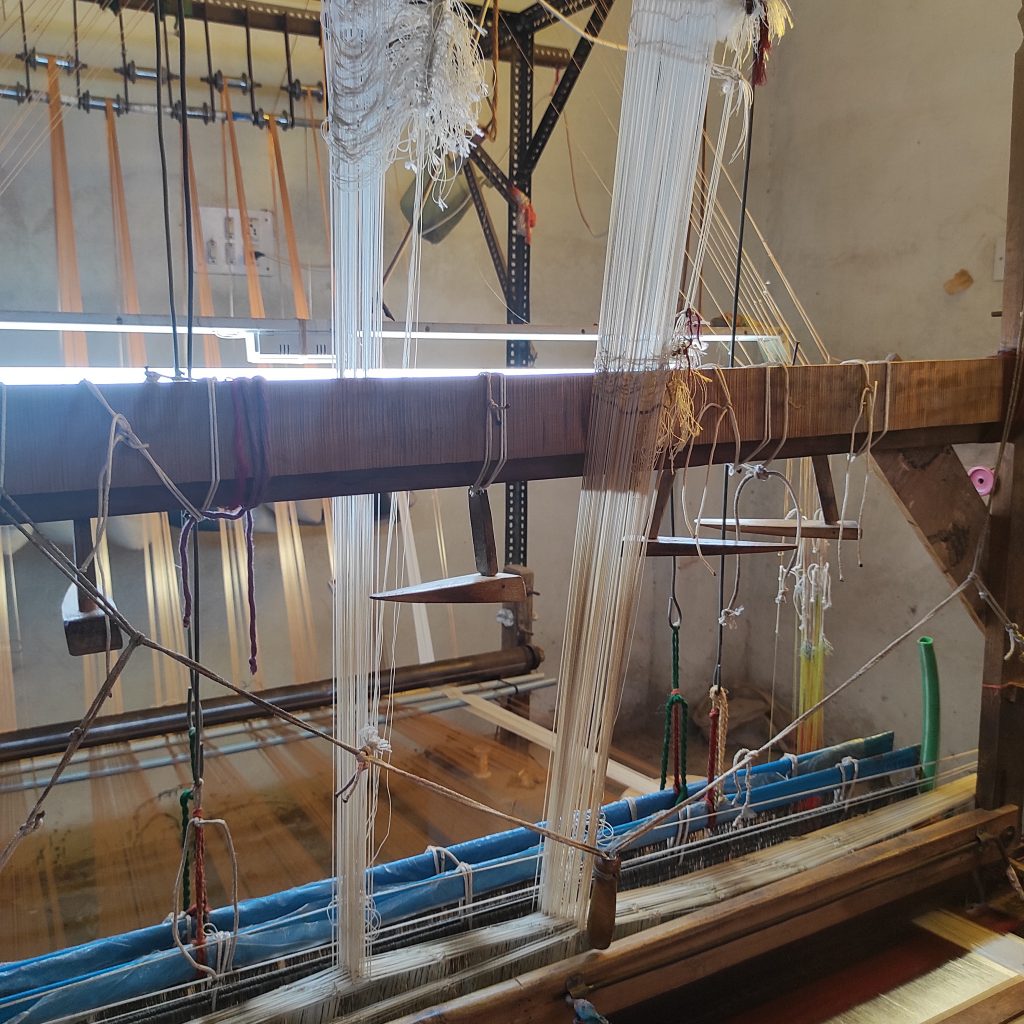
Once the shuttle containing the weft threads is ready and the warping is completed, the next step is to create the design for the border of the saree. The design is first sketched and traced on a graph paper. This graph is then used as a guide to set the design on a wooden frame by inserting wooden pins to block spaces that are supposed to be blank i.e. without any design. This wooden structure is then placed in its position which is at the top of the loom as can be seen in the image below.
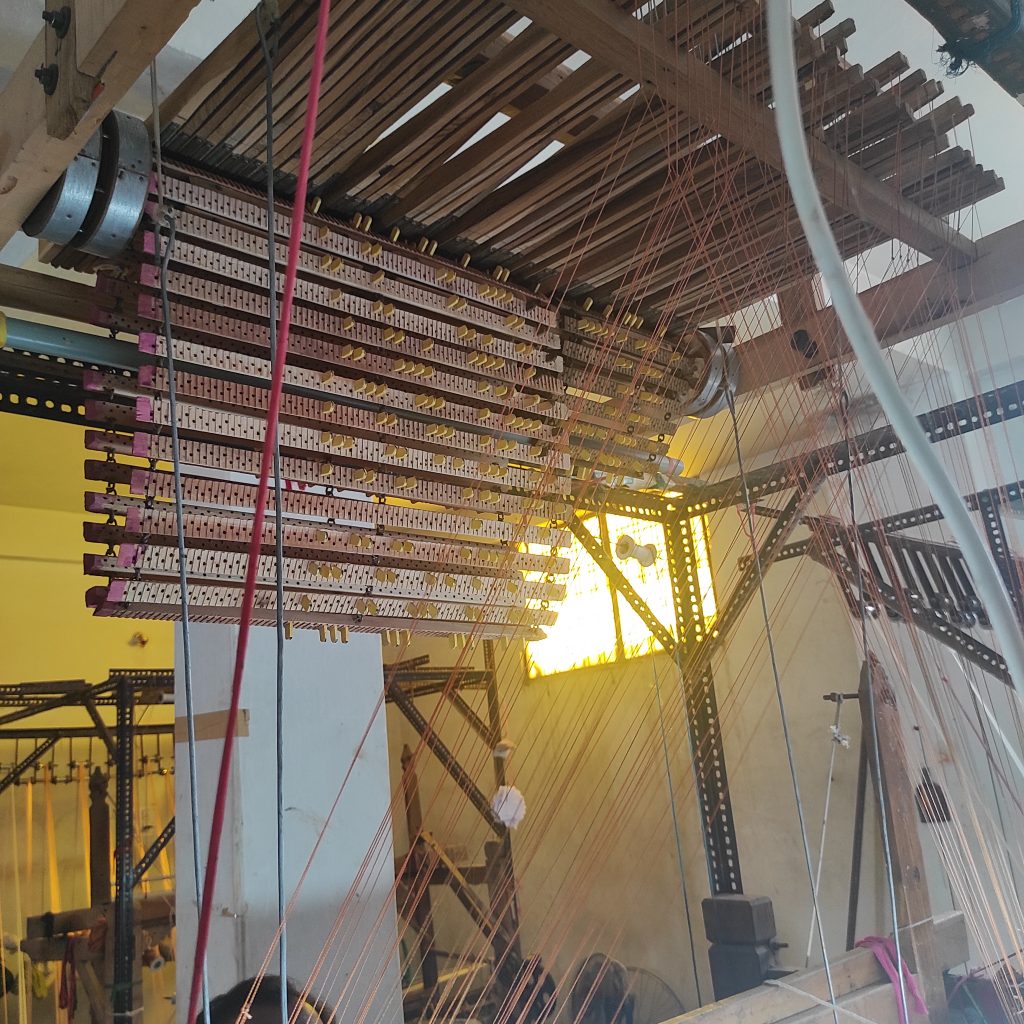
This structure that is placed on the top of the loom controls the design of the border with the help of what is known as a ‘ghar‘, a bunch of are small hoops that hang near the border and are connected to the wooden design frame by strands of threads. This is shown in the image below, on the left.
The loom is now ready for the weaving to begin. The ones used to weave Maheshwari sarees are called Dobby looms which is a type of floor loom that controls all the warp threads using a device called a Dobby. These looms can be fixed to the floor, and hence known as pit looms or they can be made using metal frames which can be dismantled and reconstructed as needed. The image on the right is that of a movable loom.


Typically, the loom is loaded with raw material enough to weave 16 sarees. This is one of the reasons why starting a loom business is expensive and requires a certain risk appetite. Depending on the skill of the weaver, it can take anything between 1-3 months to complete a set of 16 sarees. The skill of the weaver is demonstrated in how consistently she/he can throw the shuttle that contains the weft threads.
The way from the Maheshwar bus stop to the WISE’s office takes you on a path with houses on both the sides that have looms installed in them. On my first day here, I was greeted by the lovely sound of weavers operating the handloom and was surprised to find the large number of homes that have easily accommodated the loom in their already cramped living spaces.
Understanding this process of weaving a Maheshwari saree offered the perfect segue into conversations about their reasons for starting this business and how they live their daily lives.


0 Comments